Setting Up Leave Approvals
Follow these steps to set up leave approval in JobBag.
1. Create Approval/Approver User Groups
- Go to
File > Administration > User Maintenance - Create new user groups for Approval/Approver roles
- Create new or clone existing user groups for Approval/Approver roles. (Change the name and Description)
- More than one may be required depending on the level of access for each user
2. Enable Approval Privileges
- Within the user group settings, turn on Approval leave events
3. Add Approvers to the User Groups
- Add the relevant managers or approvers into the newly created user groups
- Ensure each approver has the correct level of access

Learn How to
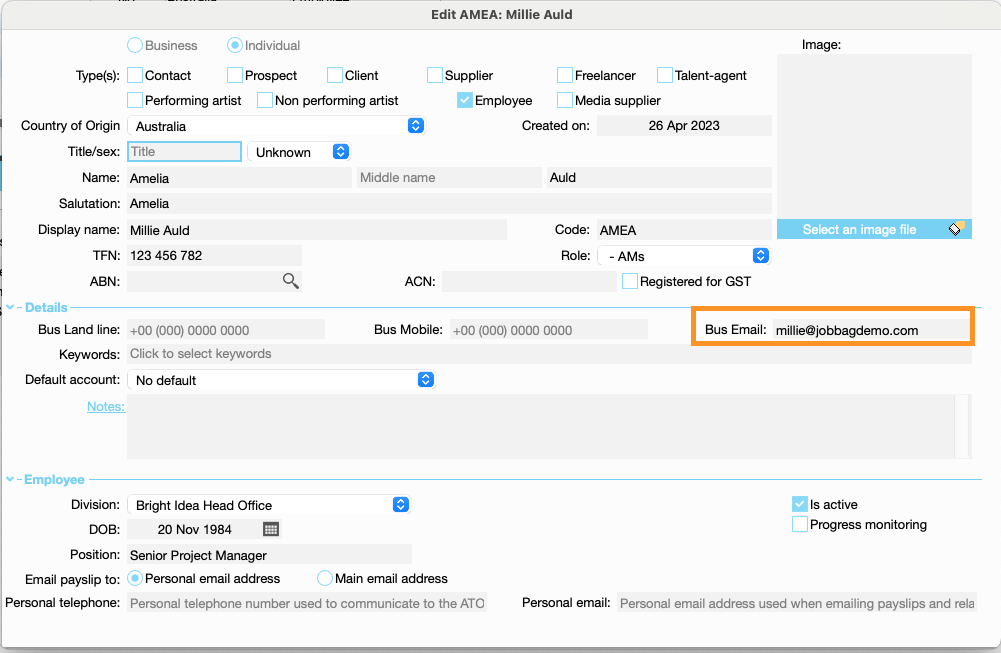
4. Record Business Email Addresses
-
Check that each approver’s business email address is recorded in their user file.

5. (Optional) Allow Managers to Check Leave Conflicts in JobBag
- To avoid scheduling conflicts, set up a leave tab in the Active Diary.
- Managers can check who is on leave and approve

Next Steps
Once the setup is complete, managers will be able to:
- Log in to JobBag and approve leave requests, or
- Approve directly via the email they receive and forward the approval to payroll
- Employees can send Approval Requests
Organise training or need more help
Please contact support 02 8115 8090 or email support@jobbag.com